Big Game Logic is reader-supported. When you buy through links on our site, we may earn an affiliate commission.
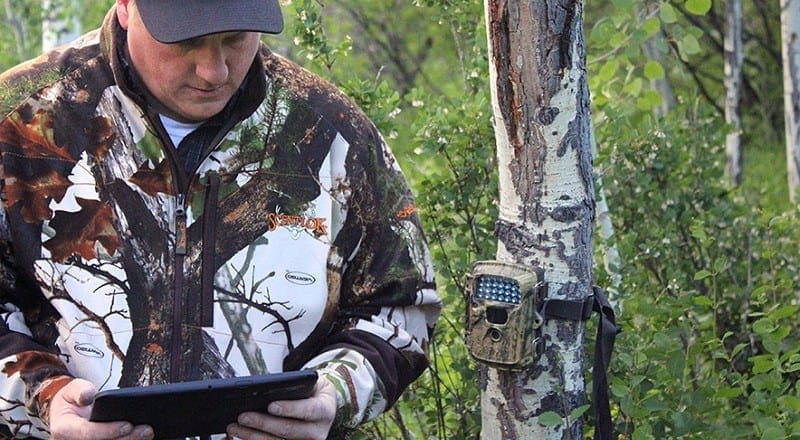
As a hunter, one of the best and easiest things you can do to work in a timely fashion and keep track of your game is to install a trail camera wherever you are planning to hunt. Installing a trail camera on or around your hunting ground can benefit you as a hunter by letting you know if it worth hunting in that location, what kind of game lives in the area, and at what time animals are active.
Preparation is Key - What You Need to Know Beforehand
If you are planning to buy a trail camera, there are a few things you should consider before investing. First, think about the weather conditions you are planning to hunt in. During the winter, cold conditions drain your trail camera batteries along with a high chance of snow accumulating around the camera, causing low-quality images.
Another aspect to consider is managing your trail camera. Maintenance is vital to the overall system functioning, so you must be willing to put in the time your trail camera deserves, especially if your software is exposed to a virus.
As a hunter, buying a scent remover when you invest in a trail camera is important since you will be continually coming back to the location. Wearing odorless gloves is also recommended when using any sort of trail camera.
Lastly, you should be aware of passersby or potential hunters stealing your trail camera. A good way to get around this issue is to invest in a bracket that bolts to a tree instead of using bungee cords or elastic bands.
Programming a Trail Camera: Step-by-Step Guide
Knowing how to properly use and program your trail camera is key to a good hunting trip. Once you are able to use it properly, obtaining access to footage while hunting will become second nature. To the inexperienced hunter, setting up a trail camera can be quite confusing. Below, we have laid out the common steps to installing your trail camera.
1. Once Removed From Packaging, Decide on a Location With the Highest Potential
The best place to install a trail camera is either where your game is eating most of their food, is most active, or along game trails that are made and used to go from one place to another. You should steer clear of installing a trail camera at the site of bedding, as this might startle and cause stress to game.
During the fall season, the best location to install your trail camera is on either mock or natural scrapes. In the beginning winter season, the outskirts of fields and trails are the best location while in the mid-winter season, food plots are considered to be the best. Trails leaving bedding areas are best for early spring season while general trails are best for mid-spring. In regards to the summer season, mineral sites and feeder stations are your best bet on choosing a location to install your trail camera.
2. Prepare the Trail Camera for Initial Use
Configuring the settings on the trail camera before you install it is vital for optimum operation. You must charge your batteries, especially if you are planning to hunt in colder conditions. The most important thing is to make sure that whatever type of SD card you have is installed properly. Without this, you will not be able to view footage immediately. Customize your settings: flash settings, trigger frequency, timer, and trigger speed.

Solar panel charging (Source)
3. Decide How You Will Mount Your Trail Camera
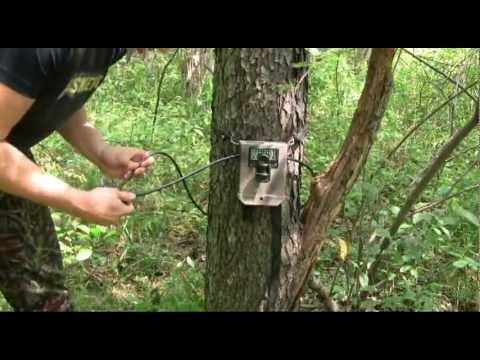
Because there are many different ways to install your trail camera, you want to choose the one that will provide you with the most high-quality images, cause little risk of being stolen, and will not disrupt wildlife. The easiest, but unsafest, way is to tie classic bungee cords around the camera to a tree. Because other hunters, game, and people in the area pose threats to trail cameras, hunters sometimes invest in mounting technology that ensures the best security. Due to overexposed images, hunters tend to mount their trail cameras oriented to the south or north, and at eye level.
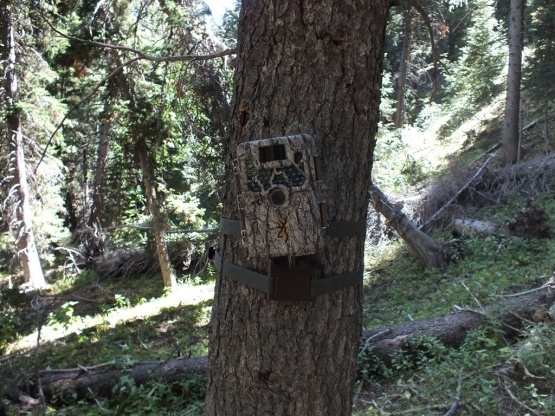
You can mount your trail camera using a cord or a bracket in a tree. (Source)
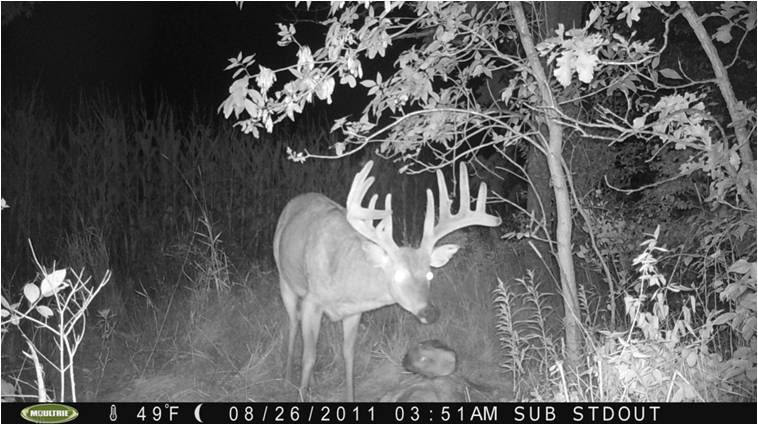
4. Test Run Your Trail Camera
Before you decide that all of your settings are good to go, make sure that the given footage is what you are going for. An important aspect of doing this is to try it out in different lightings, such as in both daytime and at night if you plan to hunt in those various conditions. An easy way to see if the settings are truly what you want is to take notes on what each setting is programmed to and review the footage on the SD card. If the footage is not what you were going for, you now have those settings jotted down and can make further changes.
5. Keep Your Trail Camera Safe
You can do this by contacting your insurance provider to see if your trail camera is covered. If so, this may prevent the need to fix damages out of pocket and will provide reimbursement if it is stolen.
Tips for Management & Maintenance
Below are a few tips to take care of your trail camera and ensure it lasts for years down the road.
Invest in Quality Mounting Technology
Keep other hunters and game from stealing and damaging your trail camera. Bungee cords might be the right mounting system for one hunter, while a bracket or a different form of greater mounting technology might be right for another.
Regular Maintenance
Continual maintenance of your trail camera will lead to a greater amount of success. This is because the companies that make trail cameras tend to create regular firmware updates. These updates make the risk of memory and photography issues much lesser.
Invest in a Durable Trail Camera
You are going to want your trail camera to be able to sustain any weather condition so it is best to invest in a nice one. Usually, the higher the quality of the trail camera, the longer the camera will last. This goes for the batteries you invest in for it, too.
Mount Location
If you mount your trail camera at the right location on a tree, this takes away the stress of having animals damage or mess with it. When mounting, it is not a bad idea to cover the camera with some sort of camouflage whether brush or other miscellaneous nature to ensure perfect secrecy.
Conclusion
In conclusion, when investing in a trail camera, you are going to want to buy into one that has customizable settings, lasts a long time, is durable in any hunting condition, and has the capability to mount to a tree in your desired location. We hope that as a hunter you have found this article helpful as you diverge into the exciting world of trail cameras.